
Numbers have a way of demanding precision. In factories, clinics, point-of-sale counters, and audio mixing stations, people still reach for a physical keypad long after touchscreens became common because a real button gives feedback a flat panel cannot. When a device also needs to scroll, zoom, or set a value that moves continuously, designers add a rotating control next to the keys. Putting both on one board keeps the bill of materials short and the enclosure simple.
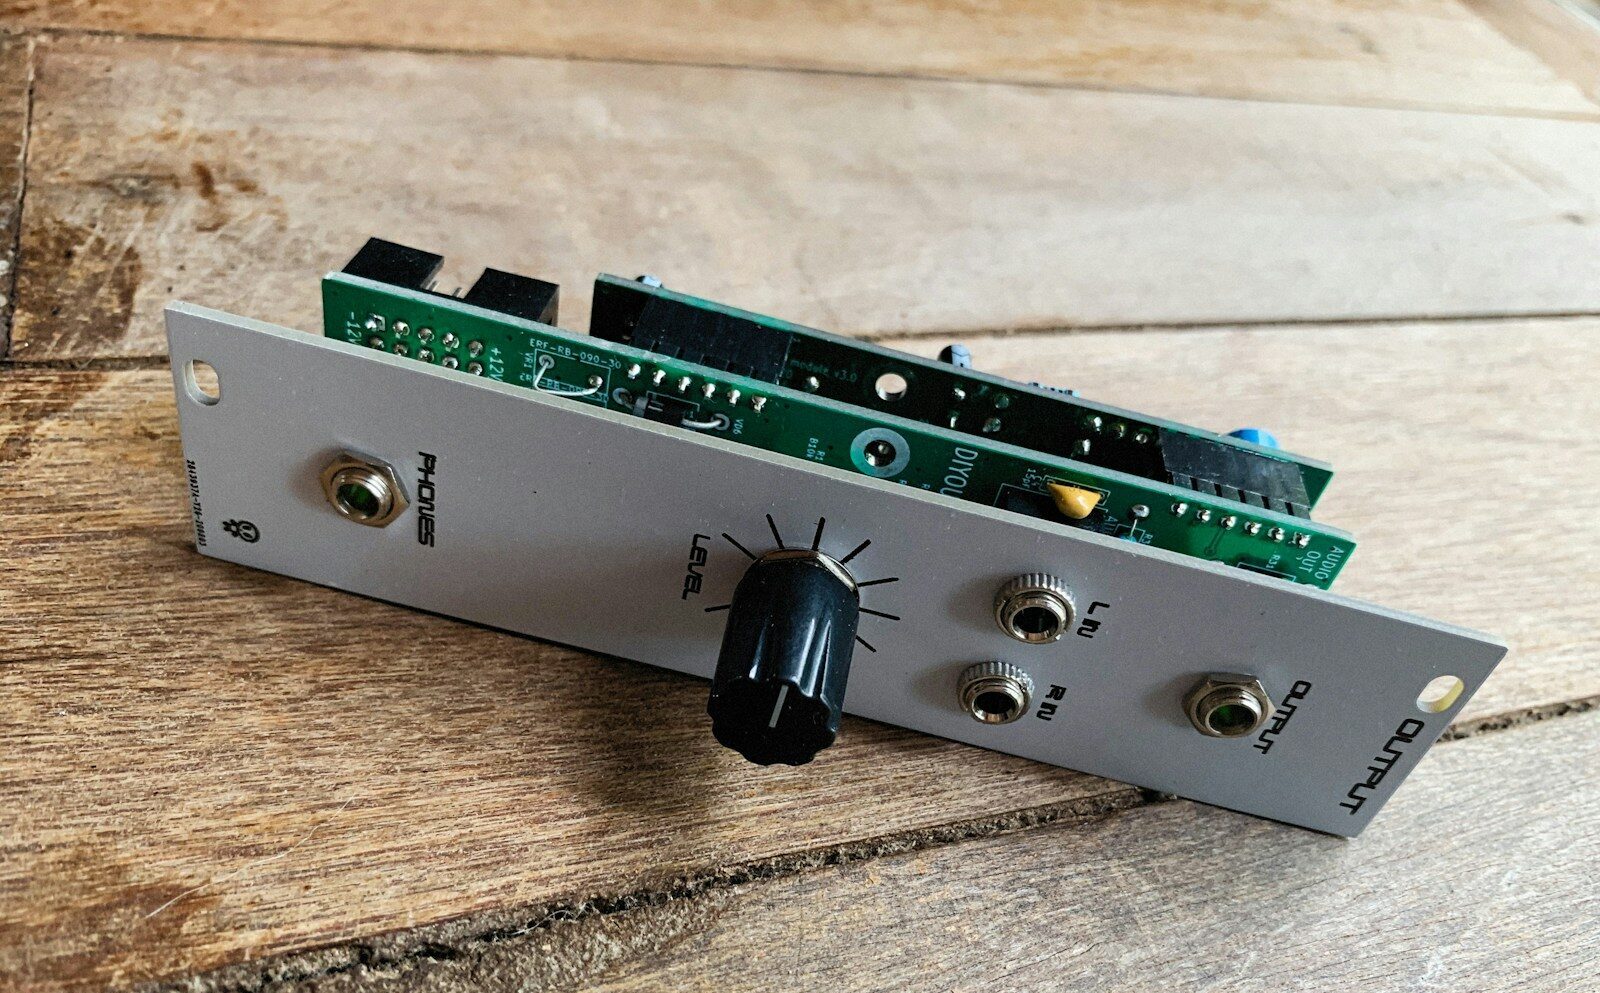
A number pad PCB with a rotary knob is a printed circuit board that carries a matrix of number keys plus a rotating control, built so a single module can capture both typed input and continuous adjustment without a separate daughterboard. The printed circuit board (PCB) routes every switch and the encoder to a microcontroller, which turns presses and turns into clean data that the host system can read.
The sections below walk through what this board is made of, how it works in practice, and what to watch when you design or order one from a partner that offers OEM PCB/PCBA contract manufacturing.
What a number pad PCB with rotary knob actually is
A number pad PCB with rotary knob combines two input functions on one substrate: a scanned key matrix for digits and a rotary encoder for spin-based input.
The board itself is a printed circuit board (PCB) that connects a grid of momentary switches and an incremental rotary encoder to a small microcontroller. Most layouts use a 3 by 4 or 4 by 4 grid for the keys, which covers digits zero through nine plus a few helpers such as “enter,” “clear,” or a decimal point. The rotary knob sits off to the side and reports direction and step count as the user turns it. Together they let one module handle both “type a value” and “nudge a value,” which is why these boards show up in test gear, industrial panels, and payment terminals.
Under the parts you find the usual building blocks of a printed circuit board design. Copper traces link each key row and column to general-purpose input pins. Pull-up or pull-down resistors hold the lines steady when nothing is pressed. The encoder needs two channels plus a ground and sometimes a center-press switch of its own. A connector at the board edge carries power, ground, and the communication lines, usually UART, I2C, or USB, back to the main controller. None of this is exotic, but the details decide whether the finished pad feels crisp or mushy.
How the board captures input
The keypad reports a press by closing one row to one column, and the encoder reports a turn by toggling two phases in a fixed order.
Key matrix scanning is the older and simpler half. The microcontroller drives one row high at a time and reads the columns. When a key bridges a row and a column, the matching column reads high, and the firmware maps that coordinate to a digit. Scanning fast enough, around 100 hertz or more, keeps the pad from missing a quick tap. Debounce logic ignores the bounce that a mechanical switch makes in the first few milliseconds after contact, so one press sends one character instead of five.
Reading the rotary encoder
The rotary part uses two output channels offset by a quarter cycle. As the shaft turns, the channels rise and fall in a pattern that tells the firmware which way the knob moved and how far. One channel leading the other means clockwise; the reverse means counterclockwise. Counting the edges gives position; watching the speed gives you acceleration, which lets a slow turn step by one and a fast turn jump by ten. Many encoders also carry a center button, so the same knob can act as a selector when pushed.
What the firmware does with it
The microcontroller bundles the key events and encoder counts into a small message and ships it over the chosen bus. On a USB build, the board presents itself as a human-interface device, so a computer sees it as a normal keypad and scroll control with no driver. On an I2C or UART build, the host polls the pad or receives an interrupt when something changes. Good firmware also handles rollover, which is the ability to register a second key while the first is still held, a feature worth specifying if operators type fast.
Design choices that decide whether the board works well
The difference between a pad that lasts and one that drifts comes down to substrate, layout, and noise control, decided early in the printed circuit board design.
Material sets the floor for everything else. Most number pads use an FR4 printed circuit board material because it is cheap, stable, and easy to assemble. Panels that sit in a hot cabinet or near a power stage may need a metal core PCB or a ceramic PCB to pull heat away, though those raise cost and change the assembly process. Layer count is usually one or two for a simple pad, which keeps the board thin and the price low. A high-density interconnect build rarely helps here because the part count is small and the pitch is generous.
Layout and printed circuit board design
Keep the key matrix tidy. Route rows as one layer and columns as the other so crossings happen only at vias, which cuts stray capacitance and makes the scan predictable. Give the encoder its own quiet return path to ground and keep its traces away from the switch noise. A ground flood under the active area lowers interference and steadies the readings. Trace width matters more than it looks: a 0.2 millimeter line is fine for signal rows, but any shared power or LED return should be wider so voltage does not sag when several keys light at once.
Power, noise, and protection
Number pads get handled, so electrostatic discharge is a real risk. A few clamping diodes on the connector and a series resistor on each row blunt the spike before it reaches the chip. Decoupling capacitors near the microcontroller and the encoder keep the supply clean. If the pad lives on a long cable, add a common-mode choke or at least a ferrite so outside noise does not read as phantom key presses. These parts cost almost nothing on the board and save returns later.
Picking the right board type
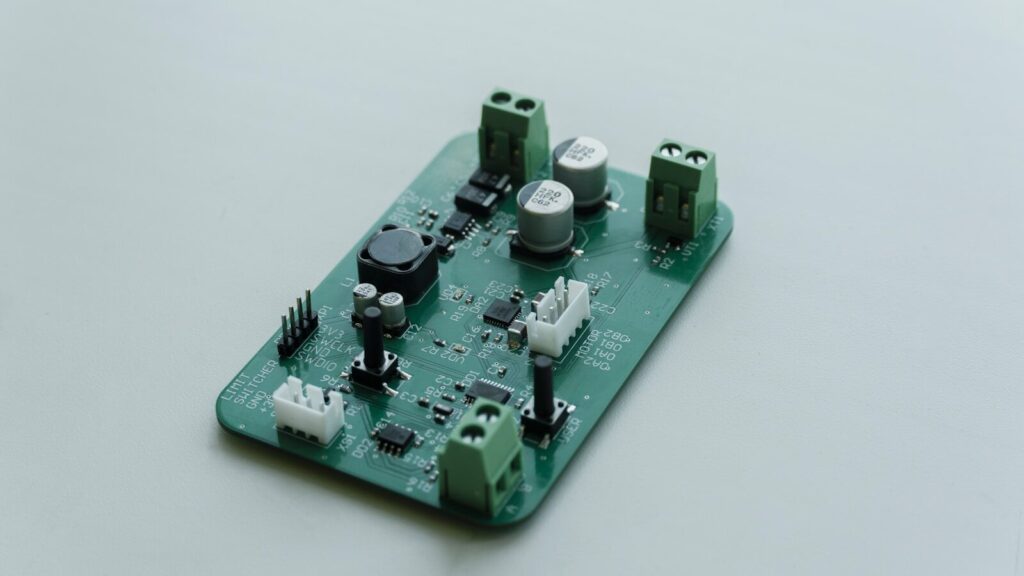
A standard number pad fits a rigid PCB, but other projects pull toward flex, high-density, or thermally tuned variants, and knowing the map saves a wrong first order.
The table below shows where each printed circuit board type fits. A number pad with a rotary knob almost always lands in the rigid column, yet it helps to see the neighbors when your product grows.
| Board type | Best fit for a number pad | Notes for this application |
| Rigid PCB | Default choice | Low cost, easy assembly, fine for flat panels |
| Flex-PCB | Curved or folding housings | Bends once or often; needs careful bend radius |
| Rigid-Flexible-PCB | Hinged enclosures | Joins a fixed pad to a moving section |
| HDI PCBs | Dense multi-function panels | Overkill for a simple keypad, useful if you add a screen |
| High-Frequency PCB | RF or fast signal paths | Not needed for key scan and encoder |
| High-Speed PCB | Gigabit or tight timing | Rare here unless the host link is fast |
| Metal Core PCB | Heat-dense mounts | Worth it only near power devices |
| Ceramic PCB | Harsh thermal or vacuum use | High cost, special process |
For the common case, a double-sided rigid PCB gives you room for the matrix, the encoder, and a small microcontroller with space to spare. Shops that list rigid PCB manufacturer wholesale supply can take your Gerbers straight to a panel and back to you with parts mounted. If the pad must curve around a grip or fold into a clamshell, ask for a Flex-PCB or a rigid-flexible PCB quote instead, since the stack-up and stiffener differ from a flat board.
Selecting components and sourcing them
The pad is only as good as the switches, the encoder, and the chip that reads them, so component choice and supply matter as much as the layout.
Electronic Components for this build start with the keys. Tactile switches give a sharp click and a long life, while conductive rubber domes feel softer and cost less in volume. The rotary encoder should match the feel you want: a detented encoder snaps to steps, and a smooth one glides for fine control. The microcontroller can be a small 8-bit part for a keypad alone, or a 32-bit part if you also run USB, a display, or a wireless link. A stable voltage regulator and a crystal or resonator round out the bill.
Sourcing these parts without delays is where a builder earns its fee. A partner with electronic components sourcing can buy switches, encoders, and microcontrollers against your list; check them against the drawing; and hold buffer stock so a shortage of one part does not stall the line. That service also helps when you revise the pad, because the same buyer already knows the approved sources and can swap a part without re-quoting the whole build.
Building and testing the assembly
A bare board does nothing until the parts go on and the result gets checked, and this stage is where printed circuit board assembly turns a design into a working pad.
Surface-mount parts go down first. A stencil lays solder paste, a pick-and-place machine sets the resistors, capacitors, microcontroller, and encoder, and a reflow oven melts the joints in a controlled ramp. Through-hole items, if any, such as a sturdy USB connector or a panel-mount encoder, get soldered after, often by selective soldering or a small wave. Good houses follow a PCB assembly design guide so pad sizes, solder mask, and fiducials suit the machines from the start, which cuts defects before they happen.
Testing separates a reliable pad from a lucky one. An in-circuit test checks that each net has the right continuity and no shorts, catching a misplaced diode or a bridged encoder pin. A functional test then drives the rows, reads the columns, spins the encoder, and confirms the firmware reports the right key and the right step count. For runs that ship to harsh sites, add a temperature cycle or a vibration check so weak joints show themselves in the lab, not in the field. Document the test so every batch meets the same bar.
Where these boards end up
The same simple module appears in more places than most people expect, because the need to enter a number and turn a dial is nearly universal.
Industrial control panels use number pads to set doses, counts, and limits, with a knob for fine adjustment of the setpoint. Medical devices use them for dosage entry, where a confirmed physical press beats a soft key. Point-of-sale terminals and self-checkout use them for pin entry and quantity, where speed and feel drive throughput. Audio and lighting gear use the knob for gain or level and the keys for presets, a pairing that feels natural to operators who learned on analog gear. Even lab instruments and kitchen equipment borrow the pattern when a value must be both typed and tuned.
Working with a manufacturer that builds them right
Choosing the builder early saves more than the board price, because the right partner shapes the design, the test, and the delivery before you cut metal.
Among printed circuit board manufacturers, few pair fabrication and assembly processes this tightly, and that pairing is exactly what keeps a number pad consistent from prototype to production. A full-service shop such as Slpcba handles the printed circuit board (PCB) and the printed circuit board assembly under one roof, which removes the handoff where errors and delays usually creep in.
Slpcba runs rigid, flex, rigid-flex, HDI, high-frequency, metal core, and ceramic processes, so the same account can support a simple number pad today and a denser panel next year without needing a new qualification. Production follows ISO-aligned quality control and IPC class 2 or 3 workmanship, and the engineering team reviews your files for free before a single board is cut, flagging thin traces, missing test points, or a footprint that will not reflow cleanly.
The practical advantages for a buyer are straightforward. One quote covers fabrication and assembly, so there is one schedule to track and one party responsible for the result. Low-volume prototypes reach you in days for validation, then scale to thousands without retooling the line. Component sourcing sits inside the same order, which keeps the bill of materials honest and the supply visible. When the drawing changes, the team turns the revision fast instead of treating it as a new project. If your product needs more than a pad, Slpcba also supports wire harnesses, box builds, and turnkey programs, which means the keypad can ship as part of a finished assembly rather than a loose board.
When you are ready to move, send the Gerbers and the bill of materials and ask for custom PCB quotes. A short note on volume, lead time, and the environment the pad will sit in lets the team return a number and a plan instead of a generic price, and it starts the file review that catches problems while they are still cheap to fix.
FAQ
Which microcontroller fits a number pad PCB with a rotary knob?
For a keypad and encoder alone, a small 8-bit microcontroller with enough pins for the matrix and two encoder channels is enough, and it keeps firmware and cost low. If you also need USB without external chips, a display, or wireless, move to a 32-bit part with built-in peripherals. Match the pin count to the matrix size plus a few spare lines for the encoder and center button, and leave room for future keys so a revision does not force a respin.
How much does a custom PCB for a number pad with a rotary knob cost?
Cost tracks board size, layer count, part count, and volume. A double-sided rigid pad in low hundreds of pieces costs a few dollars per assembled board, while a flex or rigid-flex version with a housed encoder costs more due to the stack-up and extra handling. The fastest way to a real number is to send the design and target quantity for a quote, because component choice and test depth change the total more than the bare board does.
Can a number pad PCB with rotary knob support, backlighting, and a USB-C port?
Yes. Backlighting adds LEDs under the keys with a wider return trace and, if you want dimming, a control line from the microcontroller. USB-C needs a connector rated for the pad’s current and, for a true human-interface device with no external chip, a microcontroller with a native USB peripheral. Both are common on number pads and only affect layout space and the bill of materials, not the core scan or encoder logic.